You’re riding mile 40 of a 70-mile gravel route and you hear that sickening hiss. You reach into your saddle bag and pull out a patch kit — but which kind did you grab? There are two main camps: vulcanizing patches (traditional patches that bond to your inner tube using a chemical solvent, often called “patch glue” or “vulcanizing solution”) and glueless patches (pre-glued, peel-and-stick patches that skip the solvent step entirely). Both claim to fix your flat. Both cost under $15. But they do not perform the same way, and choosing the wrong one for the wrong ride is exactly the kind of mistake that turns a minor inconvenience into a long walk home. This guide breaks down the real differences — including where the chemistry matters, what reviewers and riders consistently report, and a clear decision rule so you know which kit belongs in your bag before you roll out.
How Each Patch Actually Works (and Why It Matters)
The difference isn’t just process — it’s chemistry, and chemistry determines longevity under pressure.
Vulcanizing patches use a two-step bond. You rough up the tube surface with a small piece of sandpaper (included in most kits), apply a thin layer of vulcanizing solution (a rubber-dissolving solvent), let it get tacky for about 60–90 seconds, then press the patch firmly over the hole. The solvent partially dissolves both the tube rubber and the patch backing, and as it cures, the two surfaces fuse together at a molecular level. That’s where the term “vulcanizing” comes from — it’s the same cross-linking chemistry that hardens raw rubber into the durable compound your tires are made from. According to Bicycling Magazine’s flat tire repair guide, a properly executed vulcanizing patch can outlast the tube itself when prep steps are followed correctly.
Glueless patches skip the solvent. They’re pre-loaded with a pressure-sensitive adhesive (PSA) layer — similar in concept to a high-grade sticker — protected by a peel-away backing. You still rough the surface lightly and press firmly, but there’s no curing window and no liquid to manage. The bond is instant and mechanical, not chemical.
That distinction shows up consistently in published reviews. BikeRadar’s roundup of the best puncture repair kits notes that glueless patches are rated by most manufacturers as temporary fixes — appropriate for getting home, not for finishing a 200-kilometer brevet. Cycling Weekly’s comparison of glueless versus glue patches echoes this finding: PSA adhesion weakens over time with flex cycles and heat, particularly in the 85°F–100°F range that a tube inside a dark tire on summer pavement can easily reach.
The Real-World Performance Gap: Where Each Type Fails
Understanding the failure modes is more useful than reading marketing copy.
Glueless Patch Failures: Fast Fix, Fragile Bond
Glueless patches fail in three predictable ways. First, thermal creep: PSA adhesives lose tackiness as temperature rises. Riders using popular glueless kits consistently report that patches applied in warm conditions occasionally lift at the edges after 50–100 miles of riding — not an explosive blowout, but a slow re-flat. Second, high-pressure limitations: road cyclists running 90–120 PSI report lower long-term confidence in glueless patches compared with touring cyclists running 60–80 PSI. The higher the sustained pressure, the more the adhesive is being asked to resist continuous peel force. Third, kit shelf life: Pinkbike’s trail repair essentials coverage flags a commonly overlooked issue — glueless patches have a functional shelf life of roughly 2–3 years once the foil pouch is opened, and sometimes shorter if stored in a hot saddle bag through multiple summers. The PSA dries out and simply won’t bond reliably.
 product image](/images/external/f83fb0522046.jpg)
Park
$7.90
In stock on Amazon
Check price on AmazonVulcanizing Patch Failures: Durable but Execution-Sensitive
Vulcanizing patches fail for different reasons. Execution sensitivity is the biggest: bond quality depends heavily on prep. Skip the scuff, apply too little solution, or press before it’s fully tacky, and you’ll get a weak bond that fails under pressure. Bicycling Magazine’s flat tire repair guide emphasizes that the most common cause of vulcanizing patch failure is insufficient surface prep, not the patch chemistry itself. Time cost at roadside is also real — the full process takes 8–15 minutes done carefully, which matters in a race or on a technical trail. Finally, glue tube drying out is a chronic problem: vulcanizing solution stored in a small foil or metal tube can harden between uses once the seal is broken. Road Bike Rider’s flat tire repair guide recommends replacing the glue tube annually even if unused patches remain in the kit.
 product image](/images/external/3eadf358a238.jpg)
REMA
$7.95
In stock on Amazon
Check price on AmazonTubeless Setups: A Third Context That Changes the Equation
For riders running tubeless tires, patch kits occupy a backup role rather than a primary one. Your first line of defense is tubeless sealant; your second is a tubeless plug system like the Dynaplug Micro Pro — [PRODUCT:dynaplug-micro-pro:premium] — which handles the vast majority of trail and road punctures without touching a patch kit at all. Patch kits become relevant in tubeless setups only when the puncture is too large for a plug, when sealant is exhausted on a long ride, or when you’re converting a flat tubeless tire to tube-type to limp home. In those bail-out scenarios, BikeRadar’s puncture repair kit coverage specifically recommends a vulcanizing kit over a glueless one — because you’re installing a tube under duress and inflating to full pressure, which is exactly the load case where PSA adhesion is most likely to fail.
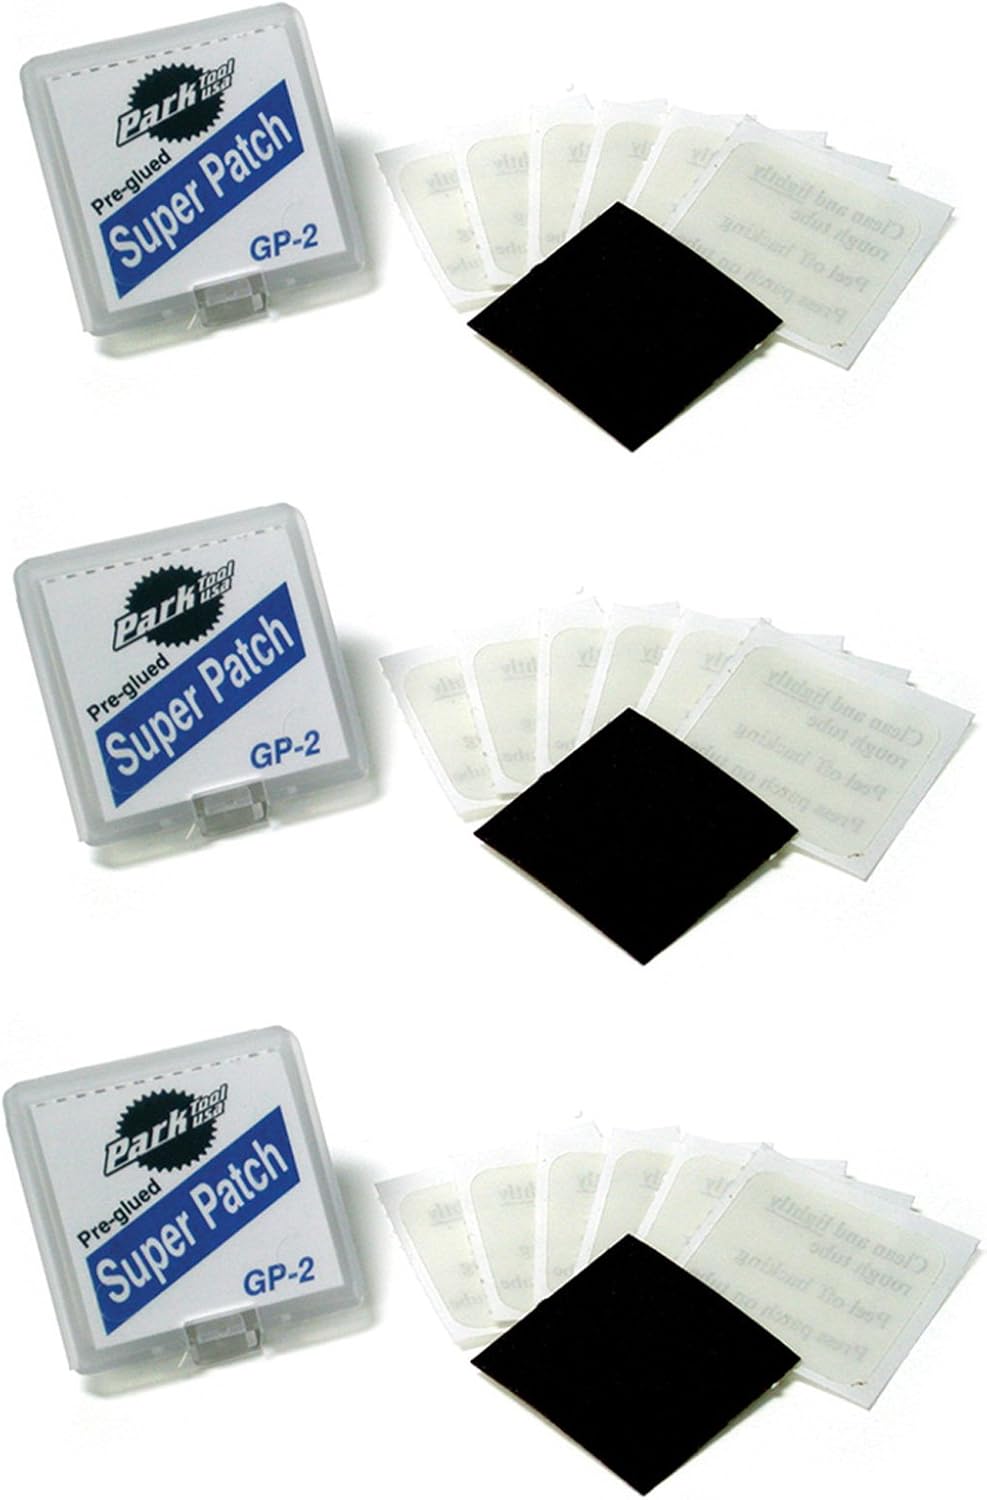
Park
$20.85
In stock on Amazon
Check price on AmazonSide-by-Side Comparison
| Vulcanizing Patch | Glueless Patch | |
|---|---|---|
| Bond type | Chemical fusion (permanent) | Pressure-sensitive adhesive (temporary-to-medium) |
| Typical repair time | 10–15 min | 3–5 min |
| Kit shelf life (unopened) | 5–7 years | 2–4 years |
| Typical kit price range | $4–$12 | $5–$10 |
| Best sustained pressure | Up to 120+ PSI | Best below 80 PSI |
| Failure sensitivity | Execution (prep quality) | Heat, age, high pressure |
Stacking the Two Kits: The Hybrid Carry Strategy
Here’s where intermediate riders often land after thinking this through: carry both, use each for its intended job.
Glueless patches are genuinely excellent as a fast first-fix to get you off the side of the road and moving again. The 3–5 minute repair time is real, the kits are thin enough to forget they’re in your bag, and for a controlled commute or a short loop where you’ll be near a workbench within an hour, the PSA bond is more than sufficient. A kit like the Park Tool GP-2 glueless patch set — [PRODUCT:park-tool-gp2-glueless-patch-kit:budget] — adds roughly 15 grams and costs $5–$8. It earns its place in any bag for day rides with easy bail-out options.
Vulcanizing patches are the permanent repair. If you’re doing a multi-day tour, a long gravel event, or any ride where you cannot afford a second flat from the same tube, the vulcanizing bond is the right call. Road Bike Rider’s flat tire repair guide specifically recommends vulcanizing kits for loaded touring applications where carrying extra spare tubes is weight-constrained. A Park Tool vulcanizing patch kit — [PRODUCT:park-tool-vulcanizing-patch-kit:standard] — weighs under 30 grams and retails in the $6–$8 range.
The hybrid carry costs you almost nothing in weight or money: under $16 and 45 grams of combined weight for a redundant, role-specific repair system. Most experienced riders stop treating this as an either/or and start treating it as a system — a fast tool and a permanent tool, both in the bag, costing less combined than a single CO₂ cartridge.
Where CO₂ Inflators Raise the Stakes
For CO₂ inflator users — particularly road racers running compact setups like the Genuine Innovations or Lezyne CO₂ systems — [PRODUCT:genuine-innovations-co2-inflator:mid-tier] — patch execution matters more than average. When you’re inflating a patched tube to high pressure in a single, irreversible shot, you have no second chance to catch a weak seal before it’s under full load. That’s exactly the load case where a glueless patch is most likely to fail and where a properly applied vulcanizing patch earns its extra 10 minutes of roadside time. Cycling Weekly’s glueless versus glue patch comparison makes this point explicitly: riders who favor CO₂ over frame pumps should default to vulcanizing patches when they have any choice in the matter.
The Decision Rule
This is the frame that makes the choice straightforward:
-
Commuting or loops under 2 hours with easy bail-out options → glueless is fine. Fast, simple, adequate. The Park Tool GP-2 or a comparable kit handles the job without overthinking it.
-
Rides over 3 hours, loaded touring, gravel events, or any ride where a second flat from the same tube is a serious problem → vulcanizing only. The bond quality under sustained load is not comparable.
-
Running tubeless and carrying a patch kit as a backup → vulcanizing. You’re installing a tube under duress and inflating to full pressure. Give yourself the better bond.
-
Weight and bag space are the constraint → carry only the glueless kit for day rides; swap in a vulcanizing kit for anything longer than a half-day.
-
Haven’t checked your kit in over two years → replace it regardless of type. Both vulcanizing solution and PSA adhesive degrade on the shelf, and a failed patch 50 miles from the trailhead is a worse outcome than spending $8 proactively.
The underlying principle across all these scenarios is the same one that shows up in Cycling Weekly’s and BikeRadar’s long-ride repair coverage: speed of repair and permanence of repair are in direct tension, and the right tool depends entirely on which constraint matters more on that particular day. The practical answer for most riders isn’t choosing one — it’s carrying both and knowing exactly when to reach for each.