A saddlebag is the small pouch that clips under your bike seat — it’s your entire roadside repair shop compressed into a space roughly the size of a banana. What goes inside that bag determines whether a flat tire means a ten-minute pitstop or a two-mile walk to cell service. The tricky part is that the “right” kit isn’t universal: a road cyclist hammering pavement needs different tools than someone grinding gravel doubletrack or ripping mountain bike singletrack. Pack too little and you’re stranded. Pack too much and you’re hauling dead weight for 90% of your rides. This guide breaks down three optimized builds — one for road, one for gravel, and one for MTB — with honest tradeoffs on weight, cost, and failure scenarios so you can make a smart decision before your next ride goes sideways.
The Core Logic: Tube-Type vs. Tubeless Changes Everything
Before building your kit, you need to know which tire system you’re running. Tube-type tires use an inner tube (the inflatable rubber ring inside the tire) that you patch or replace when punctured. Tubeless tires seal directly to the rim with no inner tube — they use liquid sealant (a milky fluid inside the tire) to self-heal small holes on the fly, and a plug (a sticky rubber strip pushed into the hole) for larger punctures that sealant alone can’t close.
This distinction isn’t a footnote — it restructures your entire kit.
- Tube-type riders need: spare tube(s), patch kit (for backup), tire levers (small plastic tools for prying the tire off the rim), and inflation.
- Tubeless riders need: tubeless plugs, possibly a spare tube as a nuclear option, and inflation.
Per BikeRadar’s comparison guide on tubeless vs. tube-type repair, tubeless systems reduce on-trail repair frequency significantly because sealant handles most small punctures automatically — but when tubeless fails, the repair is more involved and demands more specific tools.
Knowing your system before reading further matters because every kit below is built around it.
Road Build: Minimum Weight, Maximum Confidence
Road riding is the most weight-sensitive discipline. A 30-gram variance in a saddlebag matters to a rider who has already spec’d carbon wheels and latex tubes. Road punctures are also typically cleaner — a glass shard or thorn, not the jagged rocks that shred MTB tires — so your kit can be leaner.
The Road Kit (Tube-Type, ~180–230g total):
- 1× spare tube (correct valve length for your rim depth — a mistake here wastes your CO₂)
- 1× CO₂ inflator head (threaded, not push-on) + 2× 16g cartridges
- 3× tire levers (Pedro’s and Park Tool lever sets are consistently well-reviewed by Bicycling magazine as durable without cracking)
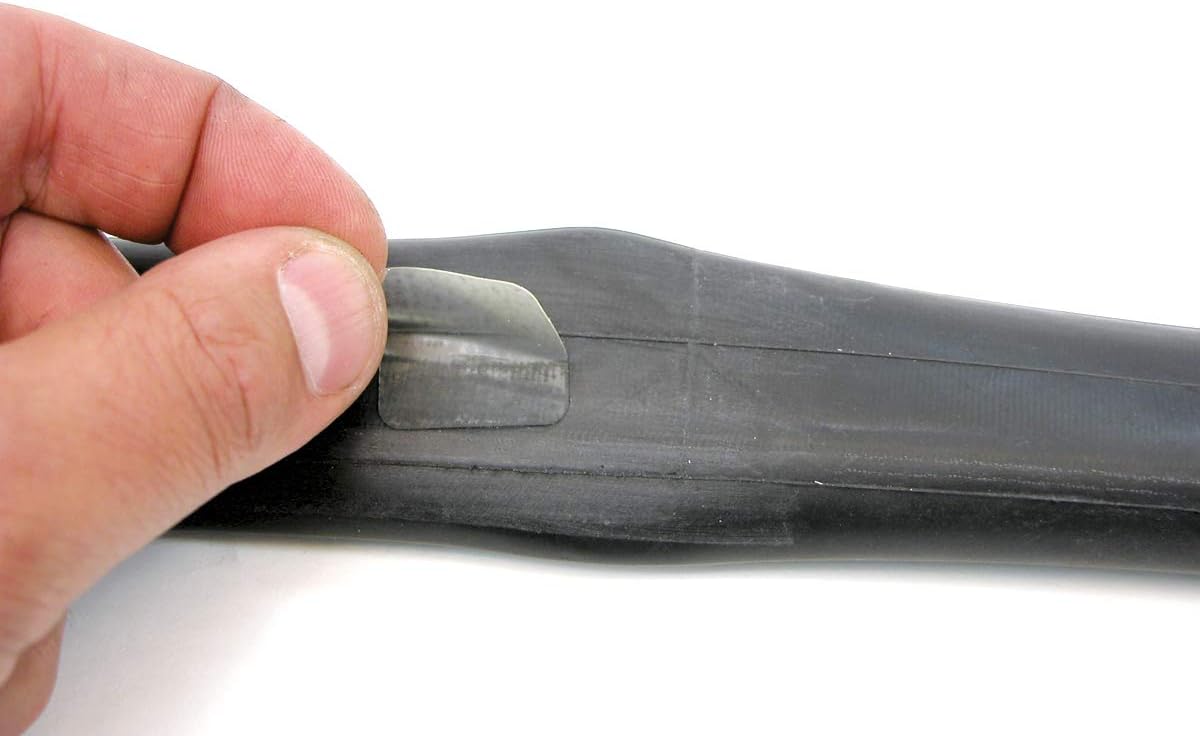
- 1× glueless patch kit (backup for a second flat)
- 1× nitrile glove (optional, keeps your hands clean during a roadside fix)
The Road Kit (Tubeless, ~150–190g total):
- 1× tubeless plug tool (Dynaplug Micro Pro or equivalent slim-body plug tool)
- 3–4 plugs pre-loaded
- 1× CO₂ inflator head + 2× 16g cartridges
- 1× spare tube (nuclear option if sealant and plugs fail — rare, but possible on a long ride)
- 1× tire lever (just one; you shouldn’t need to fully remove the tire if the plug works)
The inflation debate: VeloNews has covered the CO₂ vs. mini-pump argument extensively for road riders, and the consensus leans CO₂ for race and fast-group-ride contexts — a 16g cartridge refills a 700×28c road tire to 80–90 PSI in under 10 seconds versus 3–5 minutes of pumping. The tradeoff: CO₂ cartridges are single-use. Two cartridges in your bag means two chances. A mini pump gives you unlimited attempts but is heavier and slower. If you ride solo in remote areas, carry both.
By the numbers — Road Inflation:
- 16g CO₂ cartridge: fills a 700×28c tire to ~85 PSI in ~8 seconds
- 25g mini pump (e.g., Lezyne Road Drive): achieves road pressure in ~3–5 minutes
- Carrying both adds ~70g — worth it for solo century rides, skippable for group rides with support
Gravel Build: The Longest Kit for the Longest Rides
Gravel riding is the discipline where kit decisions carry the most consequence. You may be 40 miles from the nearest road, running mixed terrain, and carrying enough food for 6 hours. Gravel-specific tires are wider (typically 38–50mm) and run at lower pressures, which makes tubeless with sealant nearly mandatory at this level — Cycling Weekly notes that most competitive gravel riders moved to tubeless setups by 2023 and haven’t looked back.
The gravel kit also has to account for failure scenarios that road kits ignore: sidewall tears (a cut on the side of the tire, which is thinner than the tread), multiple punctures on a single ride, and the possibility of being truly self-sufficient.
The Gravel Kit (Tubeless, ~260–320g total):
- 1× robust tubeless plug tool (Dynaplug Pill or Muc-Off Stealth Tubeless Puncture Plug Kit — both receive strong marks from Pinkbike’s trail repair roundup for durability under repeated use)
- 5–6 plugs in assorted sizes (standard bacon-strip plugs for small holes, mushroom-style plugs for larger tears)
- 1× tire boot (a small patch applied inside the tire for sidewall tears — a $2 piece of mylar or a purpose-made Park Tool TB-2 boot)
- 1× spare tube (28mm or wider to fit the tire; match your tire width)
- 1× mini pump capable of at least 80 PSI (gravel tires run 25–45 PSI typically, so a pump that tops out at 60 PSI is adequate)
- 2× CO₂ 25g cartridges (larger volume for wider tires)
- 2× tire levers
- 1× basic multi-tool (6mm hex, chain breaker — the Topeak Hexus II and Crank Brothers F15 are frequently cited by Outside Online’s gravel guides as good compromises of weight vs. tool coverage)
The sidewall tear tradeoff: Plugs don’t work on sidewall tears — the rubber there is too thin and won’t hold the plug under pressure. A tire boot plus a spare tube is your bailout. Riders who skip the tire boot are gambling; over 100+ gravel miles across a full season, you’ll eventually hit a piece of shale at the wrong angle. Outside Online’s gravel kit guide explicitly calls out the tire boot as the most commonly forgotten piece of a complete kit.
Gravel inflation logic: Use CO₂ for speed (gravel tires take a 25g cartridge to seat sealant quickly after a plug), but carry the mini pump as your backup. Gravel rides run long enough that a failed cartridge on flat #2 would otherwise end your day.
MTB Build: Durability Over Grams
Mountain bike punctures are a different animal. You’re hitting rocks, roots, and occasional full drops. Tires are wide (2.2–2.6”+), run at very low pressures (18–28 PSI is common), and are almost universally tubeless at intermediate-to-advanced levels. The failure modes include large sidewall gashes, multiple simultaneous small punctures from gravel, and rim strikes (hitting the rim hard enough to damage it — your plug kit can’t fix a bent rim, but it can fix everything else).
MTB saddlebags themselves are larger — your bag can weigh more without affecting your ride noticeably the way it would on a road bike. That changes the calculus: prioritize coverage over weight savings.
The MTB Kit (Tubeless, ~350–420g total):
- 1× heavy-duty plug tool (Dynaplug Mega or Stop & Go Tubeless Plugger — Pinkbike reviewers note the Mega handles larger holes that standard Micro plugs can’t seat)
- 6–8 plugs in mixed sizes
- 1× tire boot (non-negotiable on MTB — sidewall damage is common)
- 1× spare tube (27.5 or 29” to match your wheel; keep it folded tightly)
- 1× mini pump rated to at least 50 PSI (MTB tires need low pressure — a small pump gets there faster than on a road tire)
- 1× CO₂ inflator + 25g cartridge (for re-seating stubborn tubeless beads after a plug)
- 3× tire levers
- 1× multi-tool with chain breaker (chain issues are more common off-road; Crankbrothers M19 or Topeak Mini PT30 are frequently recommended by Pinkbike as the benchmark for trail-focused tools)
- 1× chain quick-link (a small connector that rejoins a broken chain — costs about $3 and weighs almost nothing; skip it and a chain break ends your ride)
The MTB seating problem: When you plug a tubeless MTB tire, you sometimes need to quickly re-inflate with force to reseat the bead (the edge of the tire that grips the rim). CO₂ gives you that burst of pressure. A hand pump alone can work, but it’s slow and inconsistent on wider tires. Carry both.
Decision Framework: Which Build Is Yours?
Name the tradeoffs explicitly, because this is where intermediate riders make the wrong call:
| If you are… | Then build… | Don’t skip… |
|---|---|---|
| Road rider, group rides, tube-type | Road Tube-Type | 2× CO₂ cartridges |
| Road rider, solo centuries, tubeless | Road Tubeless | Spare tube + 1 lever |
| Gravel rider, 40+ mile routes | Gravel Tubeless | Tire boot + mini pump |
| MTB rider, trail riding, tubeless | MTB Tubeless | Chain quick-link + tire boot |
The clear decision rule: If you’re riding more than 30 miles from a trailhead or road — on any discipline — carry a spare tube even on a tubeless setup. Sealant and plugs solve 90% of punctures, but the 10% that they don’t solve become a genuine emergency if you’re far from help. That spare tube is your bail-out card. It costs 80 grams and potentially saves a 10-mile hike.
The other universal rule: match your CO₂ cartridge size to your tire volume. A 16g cartridge is right for road tires up to about 32mm wide. Step up to 25g for gravel and MTB. Using a 16g on a 2.4” MTB tire will give you maybe 15 PSI — not enough to ride out safely, and a waste of your one shot.
Per Cycling Weekly’s saddlebag essentials piece, the most common repair failure isn’t a missing tool — it’s a tool mismatch: wrong cartridge size, wrong tube diameter, or a CO₂ head that doesn’t thread onto the valve type you’re running. Do a dry run at home before you need this kit on the road.
Build the kit for the ride you actually do, not the ride you hope to do. Then forget it’s there.